Chewy Granola Bars

June 30, 2013


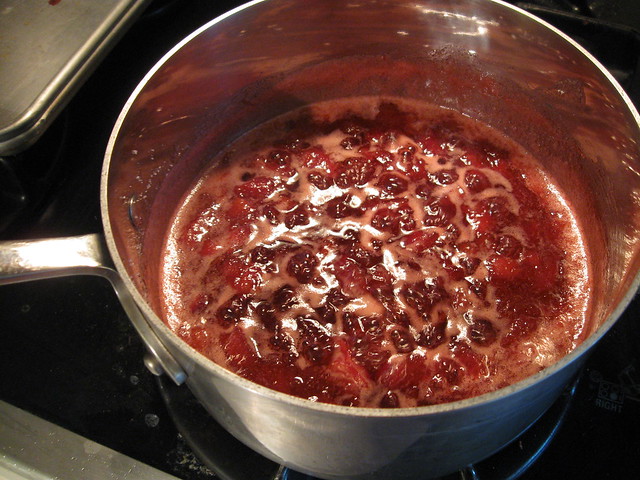
Granola bars are an awesome snack - they're portable, filling, and they kick that mid-day sweets craving right in the mouth! But store-bought granola bars often come with unnecessary added sugars and preservatives; things I really try to avoid. So when my sister made these oh-so-simple and actually-good-for-you granola bars, I just had to follow suit. She didn't use a recipe, so I made it up as I went along and made sure to write down the process so that I would be able to share it here. The only thing you need (aside from the ingredients) is a food processor. I used my mother's ancient Cuisinart one; it still works like a pro even after all these years. If you enjoy things like granola bars, sauces, nut butters, and dressings, food processors are an investment well worth making. I will be undeniably sad to part with this one when I move next week.

Chewy Granola Bars


- 3/4 lbs pitted dates
- 2 tablespoons creamy peanut butter (preferably with no added sugar)
- 1 tablespoon honey
- 1/2 cup shredded unsweetened coconut
- 1 cup old fashioned rolled oats
- 1/2 cup cranberries
- 1/2 cup chocolate chips

Put the dates in your food processor and pulse them until they are completely pulverized and form one big mass. Add the peanut butter and honey and pulse to incorporate. Add the coconut and oats and pulse until one big ball of granola 'dough' forms (see photo below). At this point I transferred the dough to another bowl and worked in the cranberries and chocolate chips using a spatula, but you could also pulse them in with the food processor if you prefer (I wanted to keep the chocolate chips intact). Line an 8x8 pan with parchment paper and press the dough into it until uniformly flattened. Cover with plastic wrap or parchment paper and refrigerate until firm, about 20-30 minutes. Once firm, cut into 8 bars and store in an air tight container in the refrigerator; enjoy at your leisure!

The perfect granola bar consistency!


The beautiful thing about these granola bars is that you can add whatever fruit and nuts you desire. I used cranberries and chocolate chips because that's what I had around, but things like almonds, hazelnuts, and dried cherries would work just as well! Or you could take a tropical spin on it and add dried pineapple, mango, and big coconut flakes. And if you don't like peanut butter, almond or sunflower butter will work just as well! I really love versatile recipes like this.


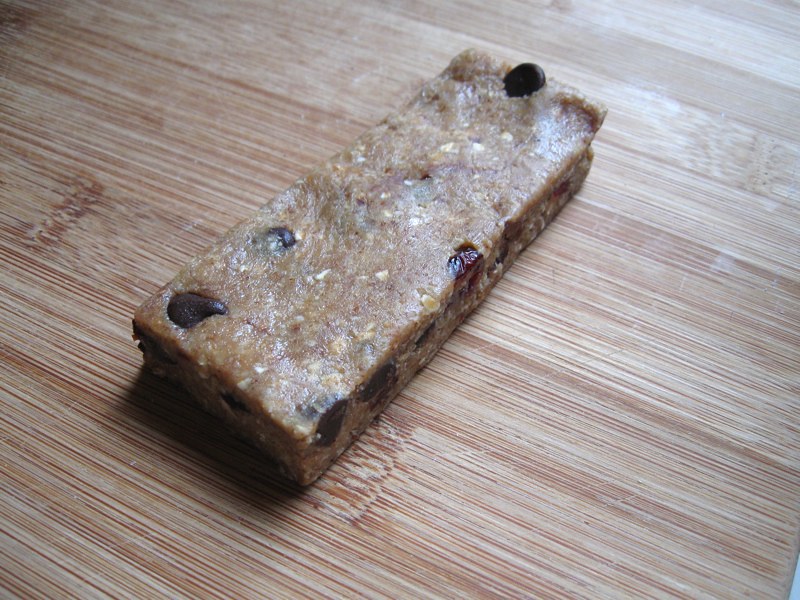
A naked but delicious granola bar.


This recipe is so easy, you'll find yourself making it at least once a week if you happen to have the ingredients on hand. It's also perfect for summertime because it's no-bake! No one wants to turn the oven on when it's 80+ degrees outside... not even this baker! Let me know what flavor combinations you decide to try!


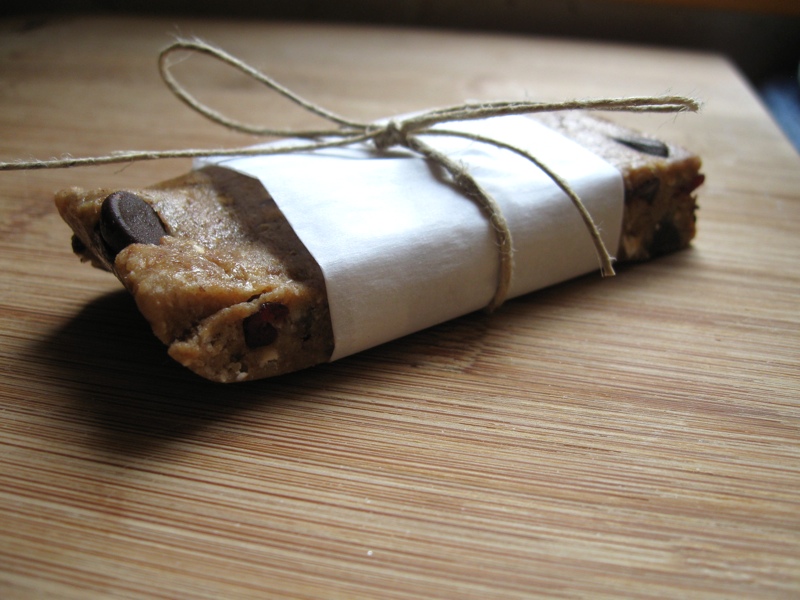
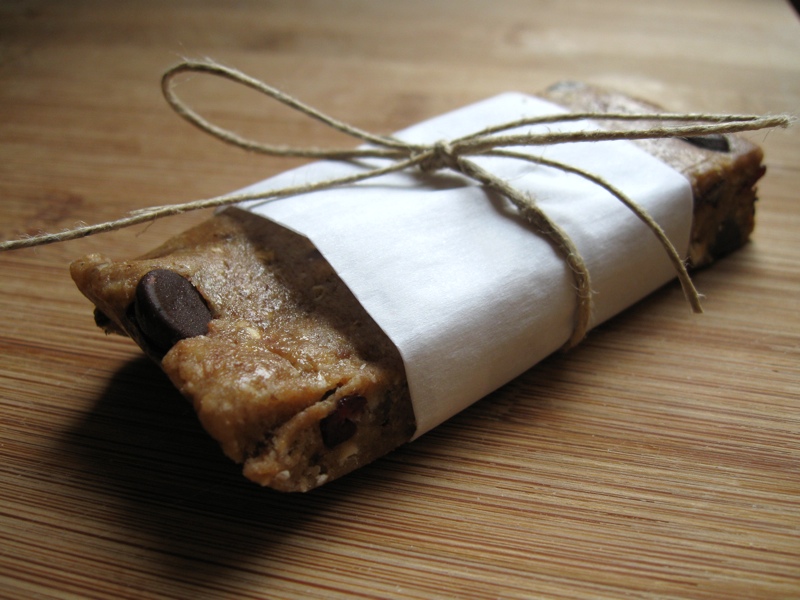
The finished product, all dressed up.


Read more...

Strawberry Rhubarb Refrigerator Jam

June 15, 2013

After a long and damp winter, nothing excites me more than seeing spring produce sprout up at the farmer's market. Especially things that aren't usually around for very long, like rhubarb. Now, rhubarb pies and tarts are absolutely wonderful in their own right, but I really wanted to try something different this time around, so last week I made the rhubarb hamantaschen cookies from The Smitten Kitchen Cookbook... and I fell completely in love with the rhubarb filling. So this week I went back to farmer's market to get more rhubarb, and some strawberries, to make my own version of the filling which I am calling refrigerator jam, since that's pretty much what it is.


Note: This recipe does not include any measurements, because I didn't use any. You can use as little or as much fruit as you'd like, and as long as you coat it completely with sugar it will turn out well! For reference though, I used three medium-sized rhubarb stalks, about a cup worth of strawberries, and approximately 3/4 cups of sugar. (I'm really guessing with the sugar... I just poured it right on in!)

Strawberry Rhubarb Refrigerator Jam


- rhubarb
- strawberries
- sugar

Trim the ends of the rhubarb and remove the stems of the strawberries, then chop both into half-inch sized chunks and place them in a saucepan large enough that they're not too crowded. Pour sugar over them, just enough to completely coat all the fruit. Cook for fifteen minutes over medium-low heat, covered with a lid; no need to stir. After fifteen minutes, take the lid off and cook for another fifteen to twenty minutes, stirring occasionally. To tell whether or not they're 'done', you're looking for a thick consistency that coats the back of a spoon; all of the fruit should be soft and integrated by this point as well. Pour the jam into a clean bowl to cool down completely. Once cool, store in an airtight container in the refrigerator and eat at your leisure! The jam should keep for about three weeks, if you have more self control than I do.

The rhubarb was so fresh that I didn't even peel it; be a rebel, like me.


There's nothing better than farm fresh strawberries! Except maybe chocolate.


Let's get this party started!


Looks like this after fifteen minutes...


Just about done!


Done! But please be patient, no one likes a burned tongue.

Of course this jam is great on toast (what isn't?) but I've been using it to add a little sweetness to my plain ol' greek yogurt in the mornings. I am super tempted to try some on a big bowl of vanilla ice cream... or better yet, in a milkshake! Let me know what your favorite way to enjoy it is!


Read more...

Our Favorite Recipes

Coming soon!

Would you like to contribute?

Are you a fellow food-enthusiast with a recipe that you just have to share? We'd love for you to contribute in the form of a guest post! If you're interested in collaborating with us, contact us with your idea and we'll work something out.

  © Blogger Template - Simple n' Sweet