Our First Guest Post: Brunch Quiche
April 29, 2012
- Marine
So I've been thinking about what I wanted to make for my first blog post and it's been bugging me until I woke up this morning after being out at the bar and started pulling out breakfast stuff. Eureka! Breakfast quiche! Mothers day is coming up too so this is the perfect easy dish to make for mom if you're having her over or it has everything you need to recover from a night out. It takes about an hour total from start to finish.
Brunch Quiche
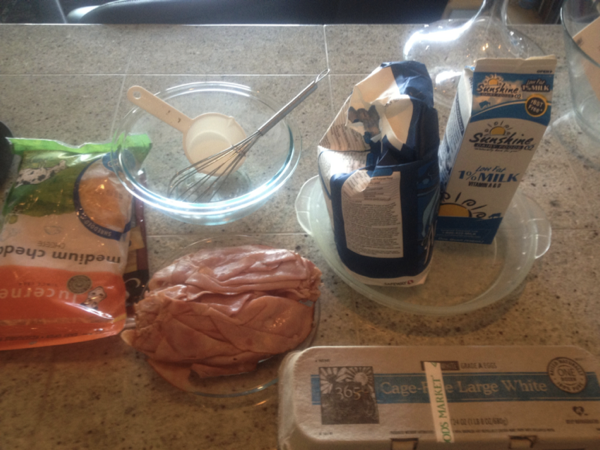
Ingredients:
- 4 eggs
- 1⁄2 cup flour
- 1 cup milk
- 1 cup cheddar cheese
- 1⁄2 lb ham
- 1 9-inch pie pan
First things first, preheat your oven to 350 degrees. So let's take a look back at this recipe. This is really a variation on my quiche recipe so it's pretty easy to make variations to it depending on what you like.
If you want something that's all veggies, you can do that too but for our purposes I'm using regular medium cheddar that you can get in any grocery store along with thin sliced honey ham you can get from your deli counter. If I have it, I prefer ham steak but sliced deli ham is just as good!
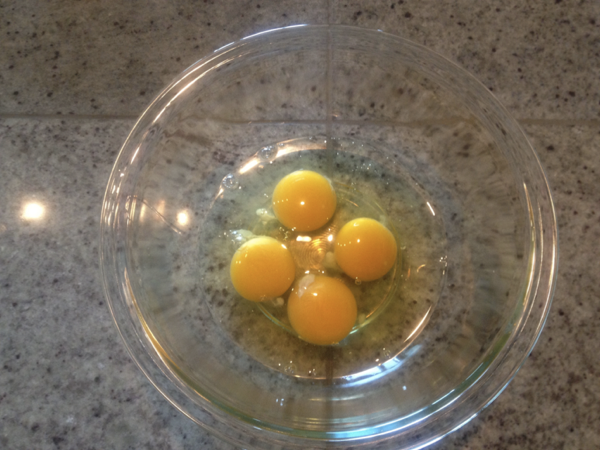
Our first step is to crack open some eggs. You'll need to use the whole egg not just the whites along with the milk. Whisk well then add flour...
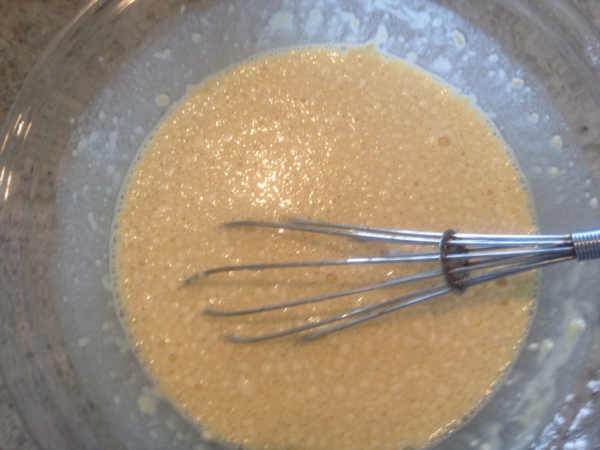
Whisk in your flour. You'll see that we have quite a few lumps and that's okay, just make sure that you whisk well enough that they are as small as possible.
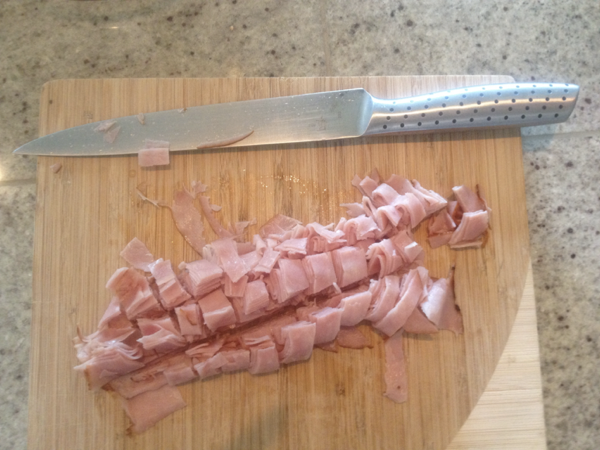
Let's go over to the ham now. We need to cut it up small so it's in easy bite size pieces. I actually rolled up all the slices of ham and cut through them length wise then again perpendicular to my original cuts. It makes for little pieces with a heck of a lot less work.
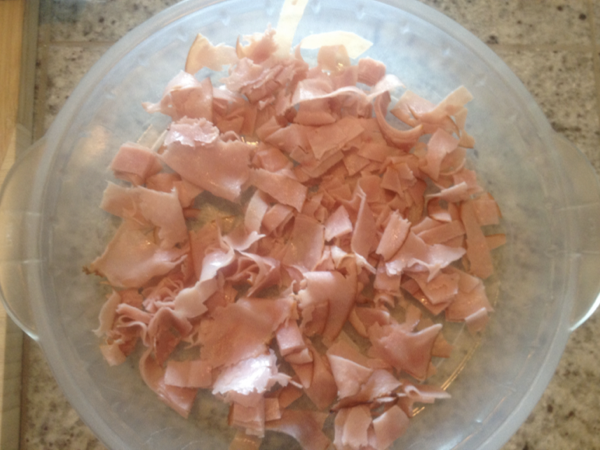
Then throw those pieces into the pie pan. Try and separate the pieces through the pie pan so that we have an even distribution, we want to make sure each slice has ham in it.
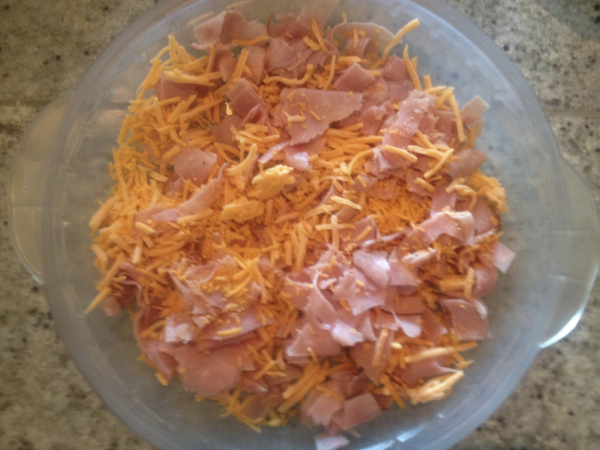
Then throw in the cheese! I love cheese so I might have used a little extra...
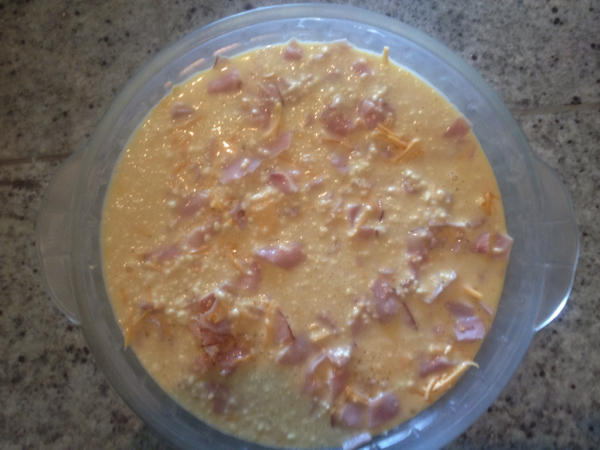
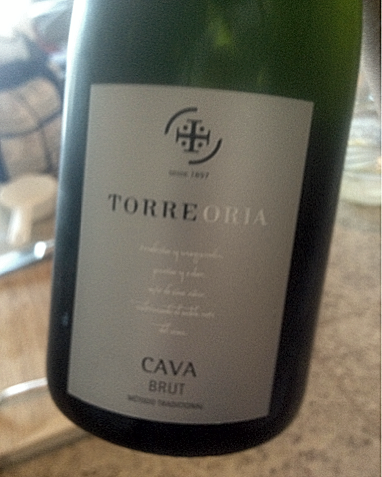
Once we have the cheese and ham in the pie pan pour in the egg milk and flour mixture. It should be enough to cover all the meat and cheese, if not just shake the pie pan a little so that things settle and even out. Then put your pie in the oven for about 30 mins and crack open the bubbles. I personally prefer some Cava because it goes really well with orange juice for mimosas!
The really nice thing about this dish is that you can walk away from the kitchen while it's cooking and clean up before your guests come over. I would keep the light in the oven on towards the end of cooking time around 20 mins or so because you'll want to keep an eye on the pie. It will rise in the oven which is perfectly normal! Don't panic and pull it out of the oven, just let it rise and get nice and golden brown. You'll know the quiche is done when you see the top of the pie getting golden and a little crispy on top.
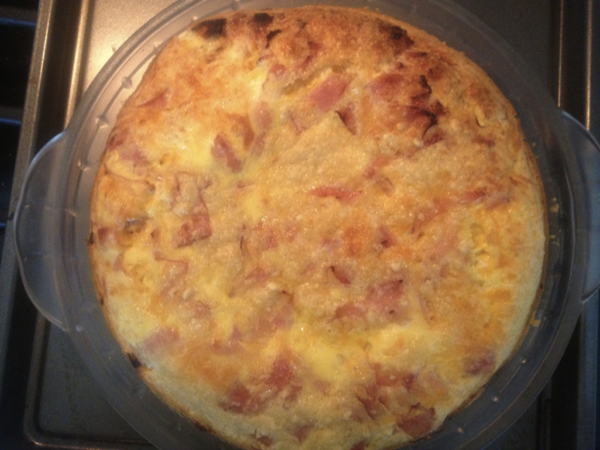
So yummy! There shouldn't be any liquid in the pie, no jiggly parts either. Let it sit for about 15 mins so that it settles and then dig in!
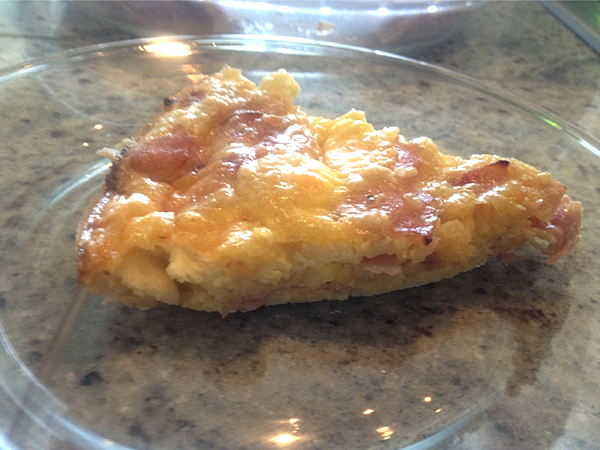
With this recipe the pie is going to be a little denser than quiche, but is still light enough to have for brunch. My fiance likes to eat it late at night when he gets home from work and I've taken a slice with me on my way to work and eaten it while walking. Another variation would be to add some veggies like onion or peppers, or even swap out the ham for bacon or sausage. Give it a shot and make it your own!